Dead Zone Revive Mission Types in the Dead Zone
Loot runs, combat clears, raids, and defend events — how each format changes rewards.
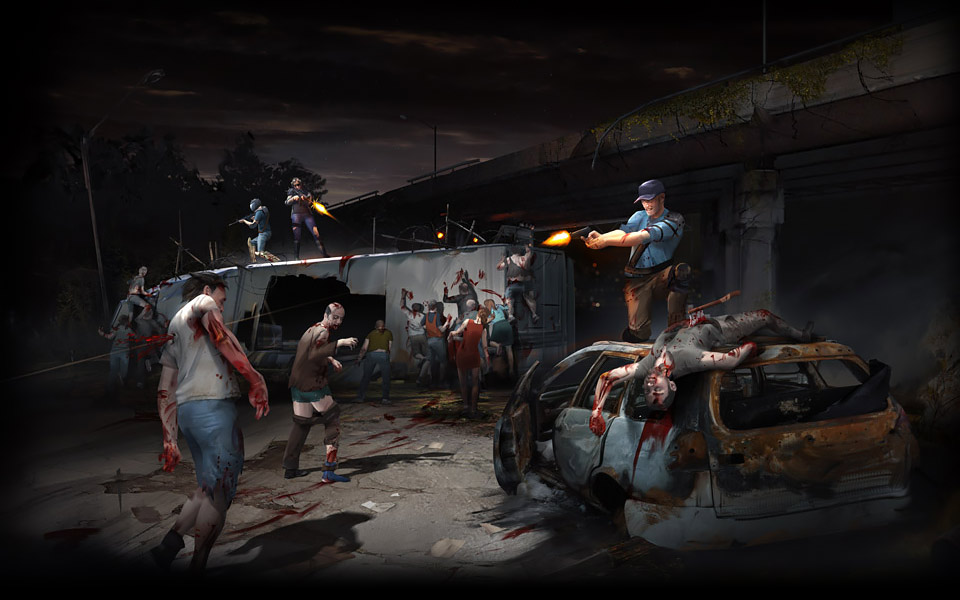
Every icon on the Union City map is a mission type — a ruleset governing objectives, timers, enemy density, loot permissions, and whether other players can interfere. Dead Zone Revive inherits the legacy loop: launch from compound, fight in real time, extract with loot, feed crafting. Choosing the wrong mission type for your goal wastes fuel, travel time, and survivor durability. This guide catalogs the major formats, pairs them with five-slot loadouts, and links to tools that turn theory into deploy orders.
Core PvE mission formats
Loot run / scavenging. Primary goal is carry capacity and extraction value, not kill count. Infected still attack, but the scoring favors crates opened, resources gathered, and safe exit. Bring Scavengers, extra backpack gear, lighter weapons, and a Medic for stabilize-not-max-heal. District tier sets rarity ceilings — see Districts and Locations. Avoid LMG ammo burn unless a crate objective demands it.
Combat clear / elimination. Higher spawn pressure, elite variants, and bonus tables tied to completion speed or accuracy. Fighters, Medics, and Leaders shine. Prioritize sustained DPS weapons, armor mitigations, and repair kits from Gear and Attachments. Loot is secondary but often includes weapon mods.
Search and retrieve / objective. Legacy missions that force routing through interior arcs — keys, generators, NPC survivors. Recon intel reduces backtracking. Read Scavenging Missions for extraction discipline.
Horde / holdout. Timed waves at a fixed point. Engineers deploy traps; Medics manage burst damage. Compound-learned trap knowledge transfers here.
PvP-adjacent and social formats
Player raid. Attack another compound for stored resources. Offense wants breaching tools and burst damage; defense layers walls and traps from Compound Setup. Alliances and Raiding covers etiquette and retaliation loops.
Defend / home raid. Reverse raid — protect your stash during an assault window. Keep defenders near storage, pre-load ammo, and coordinate alliance reinforcements if the build supports it.
Alliance task / group objective. Shared progress meters, boosted schematic drops, or district modifiers. Communication outweighs solo meta — pair with Players hub role planning.
Early Access may not expose every legacy mission type on day one. When a format is missing, fall back to loot and combat clears while tracking Early Access Status.
Mission type versus district matrix
| Mission type | Best districts | Primary reward | Risk profile |
|---|---|---|---|
| Loot run | Residential, commercial | Mats, backpacks, bulk commons | Medium if you extract early |
| Combat clear | Industrial, security | Weapon mods, rare guns | High spawn rate |
| Schematic hunt | Tier 3–4 landmarks | Blueprints | High if overweight on exit |
| Raid | Player compounds | Stored resources | Human retaliation |
| Defend | Your compound | Retained stash | Opportunity cost of downtime |
Five-slot loadout pairing
Align survivors with mission rules before you click deploy:
| Mission focus | Slot 1 | Slot 2 | Slot 3 | Slot 4 | Slot 5 |
|---|---|---|---|---|---|
| Loot run | Leader | Scavenger | Scavenger | Medic | Recon |
| Combat clear | Leader | Fighter | Fighter | Medic | Engineer |
| Schematic hunt | Leader | Scavenger | Recon | Medic | Fighter |
| Raid / defend | Leader | Fighter | Engineer | Medic | Recon |
Tune classes with the Loadout Planner and validate gear on Weapons. The Tier List helps when duplicate classes compete for the same slot.
Extraction and failure states
Failed extraction usually loses partial loot or applies injury timers on survivors. Overweight inventory, dead Medic, or ignored route timers cause most failures — not lack of DPS. Beginner Tips lists preventable mistakes.
Successful extraction feeds Crafting and Loot and the Resource Checklist. Bank items before chaining another mission type with different carry rules.
Seasonal and event missions
Legacy Dead Zone ran limited events with unique districts. When Ruby Realms Studios enables events in the revival, expect separate mission types with cosmetic and schematic rewards. Track announcements on Updates hub and the official site linked from Community and Overview.
Related pages
- Map hub — geography primer.
- Guides hub — onboarding and advanced tactics.
- Items hub — processing rewards.
- Tools hub — planners and checklists.
Mission type is the fastest lever after district choice. Match format to goal, deploy a deliberate five-slot team, and extract clean — the compound grows when missions end with full bags, not heroic wipes.
Frequently Asked Questions
Quick answers for survivors in the Dead Zone.
What is the best mission type for beginners?
Short loot runs in tier 1 districts teach extraction without punishing spawn rates. Move to combat clears once Medics and weapons are stable.
Can I switch mission type after launching?
Generally no — each deploy locks objectives. Return to compound and pick a new format.
Do raids always target other players?
Raid missions focus on player compounds. PvE missions avoid human attackers unless the district rules say otherwise.
Why did loot run give worse drops than combat?
Tables differ by mission type. Combat skews weapon mods; loot runs skew bulk mats. Pick the type that matches your crafting queue.
How do alliances change missions?
Alliance tasks may add shared objectives or loot boosters. Coordinate roles before accepting group missions.